In February-April 2021, I created a print-in-place, actuating toy using a novel 3D printing technique
Background and Experimentation
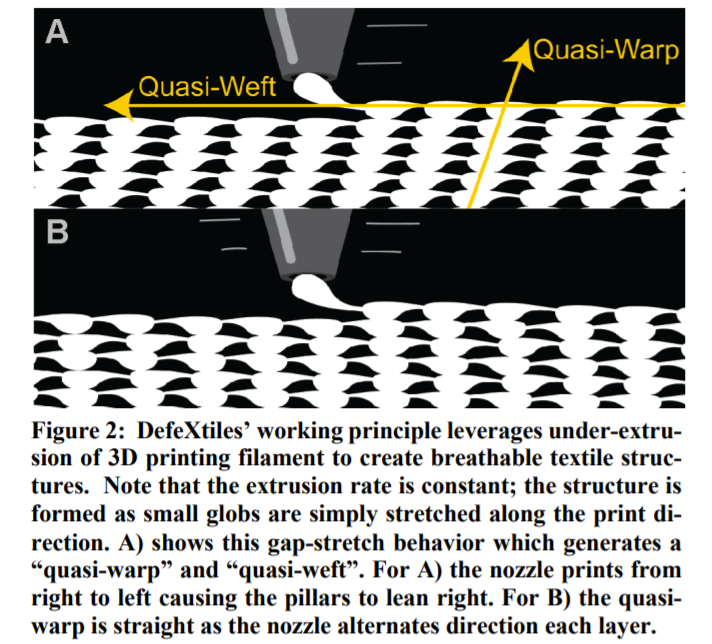
In December of 2020, I stumbled across a paper written by a graduate student at the MIT Media Lab, detailing a method in which FDM 3D printers could be used to create a “quasi-fabric”. This was fascinating, as most advancements in additive manufacturing are out of reach to hobbyists, but this was an exception.
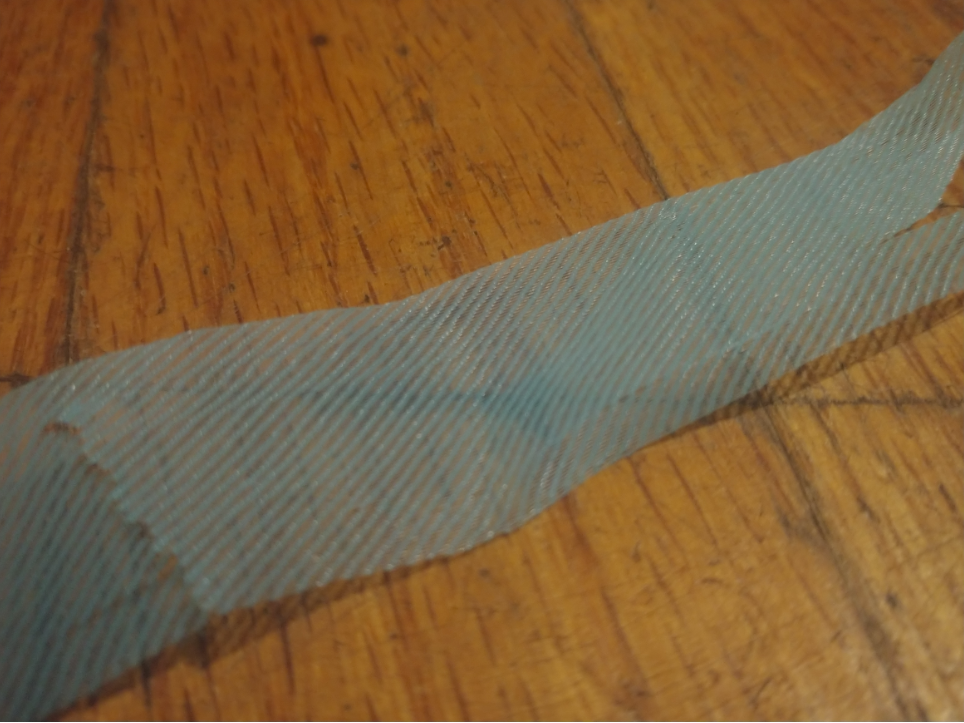
I started out by just experimenting with simple strips of the fabric material with various settings
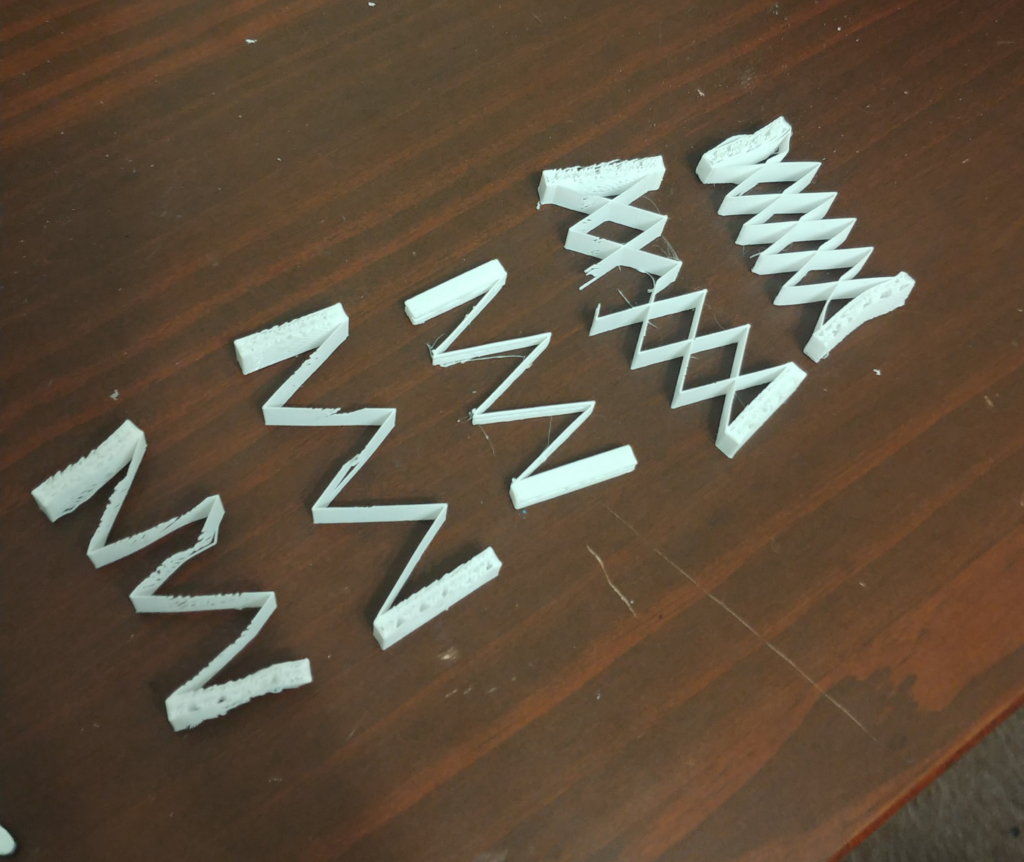
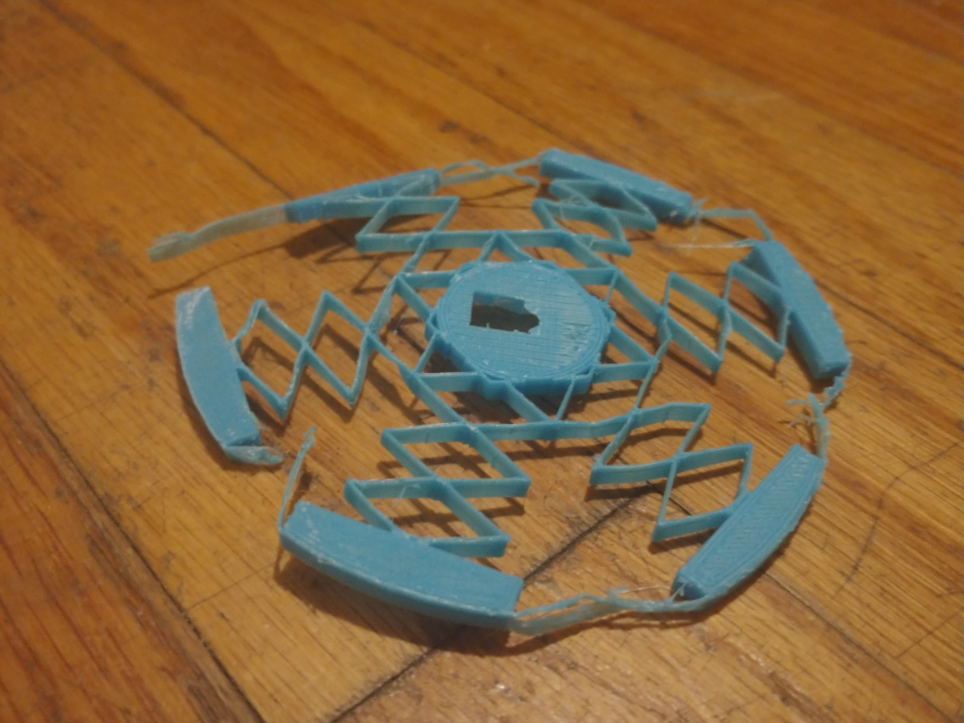
Next, I made some “springs” of varying strengths and geometries. This may not seem like a big deal, but printing this kind of geometry with normal FDM 3DP methods would result in plastic deformation of the spring rather than the elastic deformation shown.
I also made some interesting springy wheels inspired by the mars rover wheels. The one shown degraded to the level shown because I had been enjoying using it as a fidget toy.
The Final Product
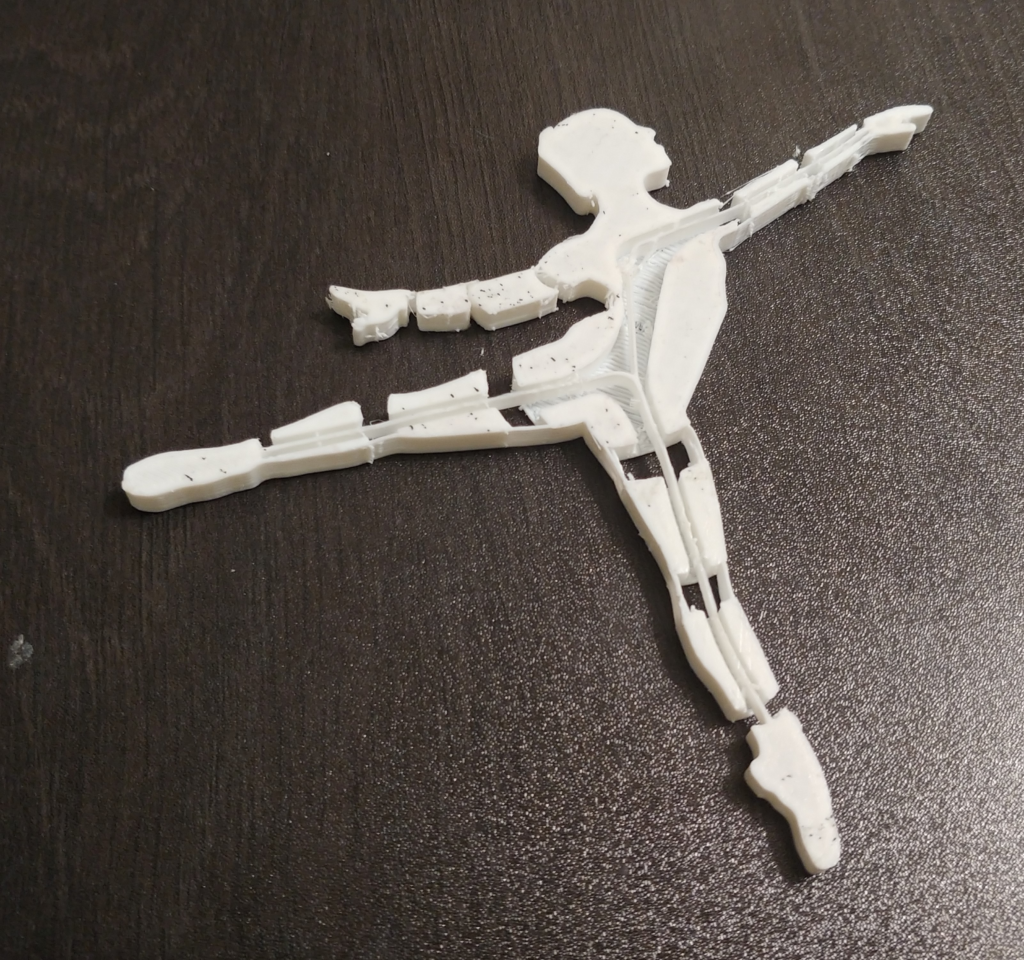
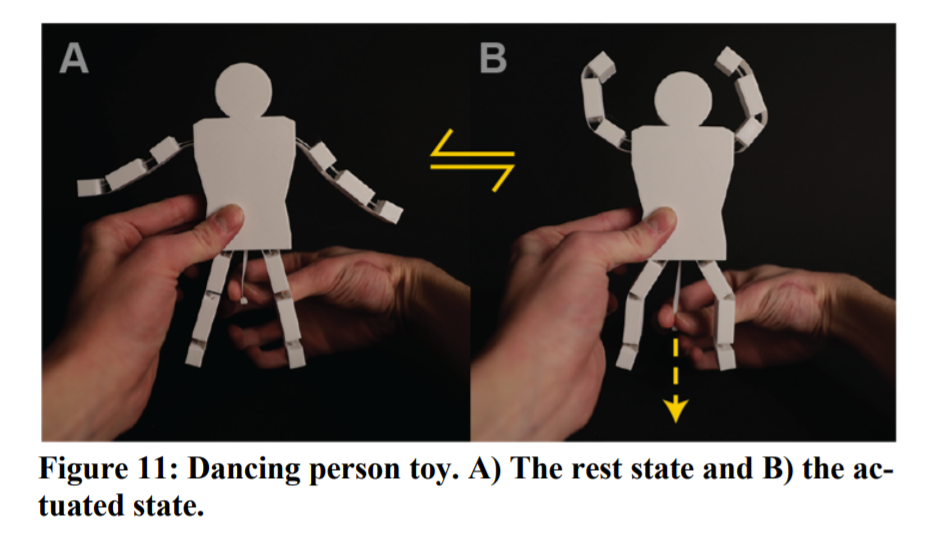
Then, when trying to think of a birthday present for a good friend of mine who is a ballet dancer, I decided that I would replicate the articulating toy from the paper, except I would make it look like a ballet dancer. I watched the short video clip with the toy figure and read the excerpt in the paper and gathered inspiration. I considered reaching out to the project’s author, but I decided to challenge myself to only use their help if I truly needed it.
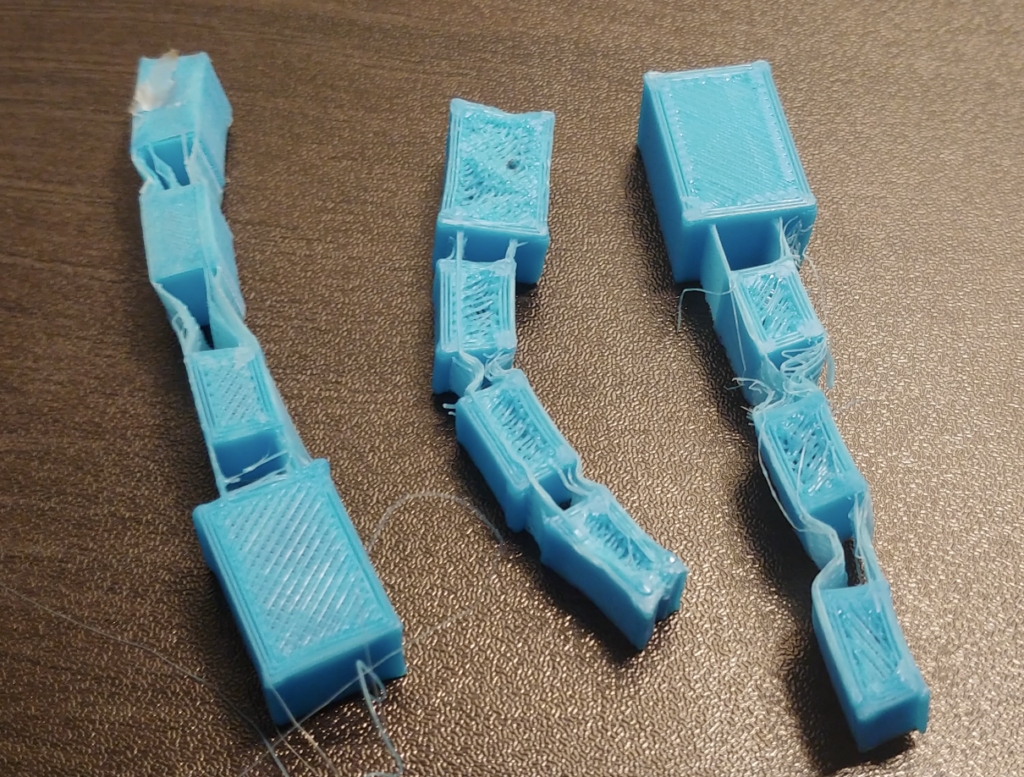
There are 3 main parts to the dancer: the solid body sections, the semi-rigid “tendon” sections that run along the outside of the limbs, and the more elastic “ligament” sections. Using simplify3D, I was able to assign different print settings to each different part while still keeping them in the same print.
I started by making some different legs to understand how the print settings of the body and the tendons would play out.
I then expanded to creating the whole shape of the ballerina and deciding where the tendons and ligaments should go. At first, the design had the ligaments touching the build plate and the body channels bridged over the top of them. However this caused an issue where the ligaments would often adhere to the build plate inconsistently, sometimes not adhering and causing misprints, or over adhering and snapping upon the rest of the models’ removal from the bed. To combat this, I changed the design so that the ligaments were now resting on top of the body channel.
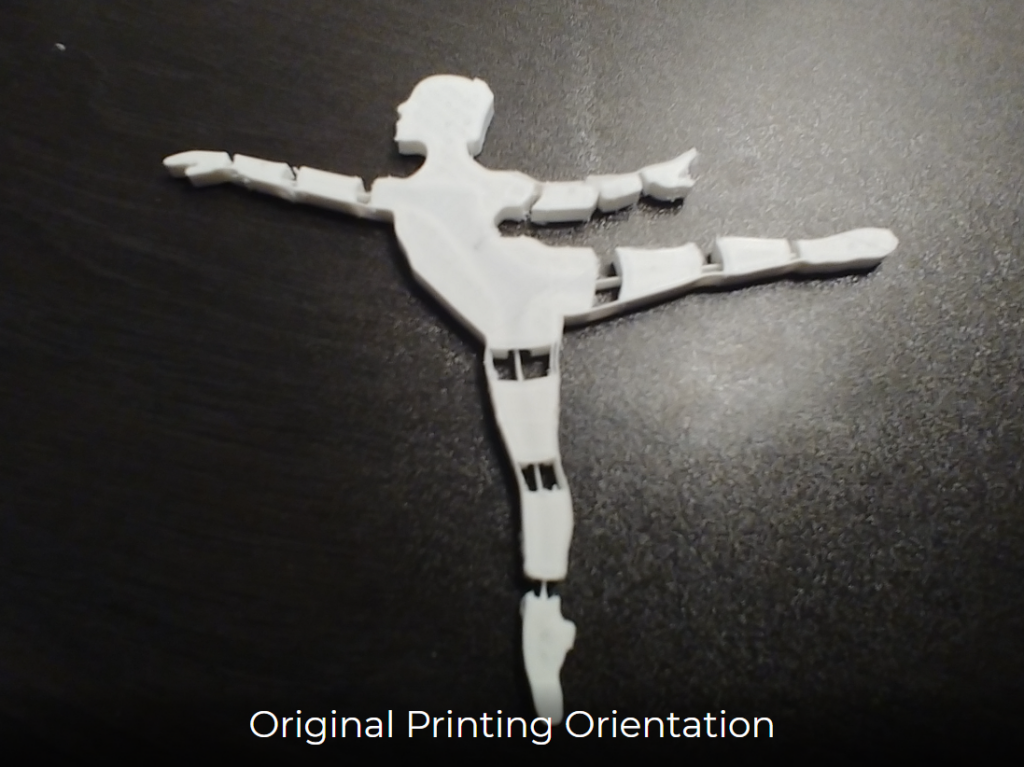
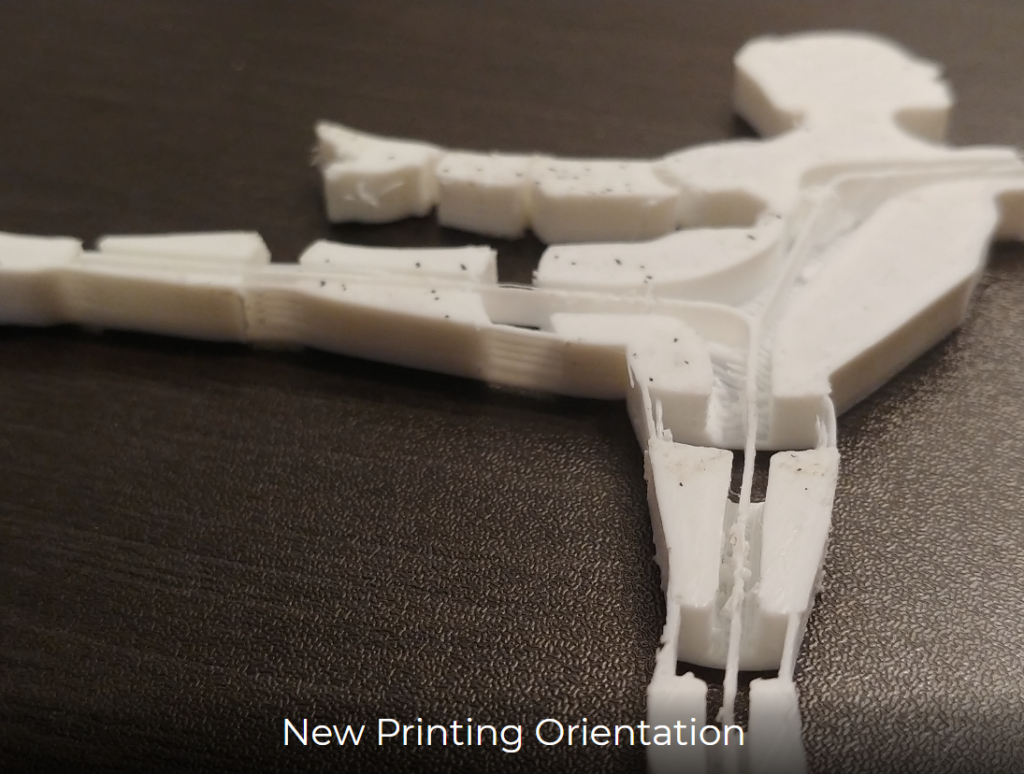
After this, I went through a lot of iterations trying to solve printing problems: the ligaments had a tendency to form strings rather than fabric. However, it turned out the root cause of this issue was a partially clogged nozzle. It was starting to seem like it might be silly to keep trying to print this project when finally I did a routine printer cleaning and swapped nozzles, and the next dancer print came out much better than previous ones.
Once I had solved the print errors, it took a few revisions to get the path of the ligaments and the channel just right to get the desired amount of movement, but the final product turned out wonderfully!